EPiServer Commerce and Composer R2 – a Love Story!
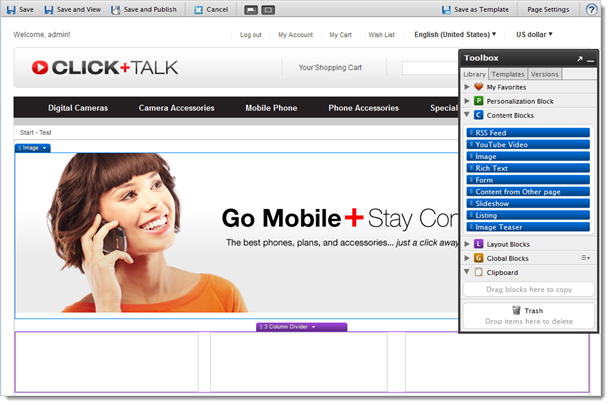
With the release of EPiServer Composer 4 R2 we now got a great tool for building and optimizing personalized start pages and landing pages. What better way to combine a flexible layout with personalized content, than for an ecommerce site.
New and improved Composer
![]() The Composer R2 release has several new/improved features:
The Composer R2 release has several new/improved features:
- Personalization blocks
- New preview mode
- Editing block trough double-click
- Improved drag and drop
- New and improved functions
- Toggle visibility of block borders and headers
Easier to install
Page and function type definitions are now automatically registered as part of the Sample package installation - no longer need for manual import in Admin mode.
No more CSS and JQuery conflicts
In Composer 4 R2 the Composer CSS and JavaScript have now been encapsulated to make sure it does not interfere with your custom files. This is great news for us developers!
To learn more about news in EPiServer Composer R2, read Peter Sunnas article.
Installing Composer on a Commerce site
As the title of the blog post indicated, getting Composer to play nice with the demo Commerce site is pretty straight forward. You need to make minor adjustments to the Composer templates, this is because the Composer sample package is built for the Alloy Technologies sample site. The necessary changes are described below.
Path to MasterPage file
Change the MasterPageFile attribute for the Composer template files (aspx files located in <siteroot>/Composer/Pages/) to use the Commerce master page.
Name of Content Placeholder
In the same aspx files as mentioned above, we also need to change the name of the content placeholder to use.
Also, since the Commerce demo site is using “en-US” as the default UI language, you might notice some missing translations in the Composer dialogs.

A quick fix for this is to
- Locate Dropit.Extension_EN.xml inside the lang folder
- Copy file and name it Dropit.Extension_ENUS.xml
- Open file and change
<language name="English" id="en"> to
<language name="English United States" id="en-US">
That’s it – your new commerce pages are just a few drag and drops away.


Excellent work.
If you experience installation issues, have a look at this forum thread:
http://world.episerver.com/Modules/Forum/Pages/Thread.aspx?id=50072&epslanguage=en
Great blog Mari! Straightforward and accurate.