Installation Instructions - Episerver Commerce 1 R3
Introduction
This document describes a first time installation of EPiServer Commerce 1 R3. The procedure includes installation of the EPiServer 7 platform with CMS, installation of Community components, and installation of EPiServer Commerce with the Enoteca sample templates.
Prerequisites
- Check the system requirements for EPiServer Commerce 1 R3 before you start the installation, to ensure that the system requirements are met for the target environment.
- EPiServer Commerce 1 R3 requires the EPiServer 7 platform with EPiServer 7 CMS. Download EPiServer 7 CMS here.
Installing Community Components
The Community components are required for EPiServer Commerce 1 R3.
Do the following to install the Community components:
- Execute the community .msi file included with the EPiServer 7 installation package.
- Let the installation finish, and continue with the steps described below.
Installing EPiServer Commerce With Sample Site
The procedure below will install EPiServer Commerce, with EPiServer CMS and the Enoteca sample templates.
- Download and extract the file packages for EPiServer Commerce and the Enoteca sample templates.
- Execute the EPiServerCommerce.msi file and let the installation finalize.
- Execute the EPiServerEnoteca.msi file and let the installation finalize.
- Start EPiServer Deployment Center.
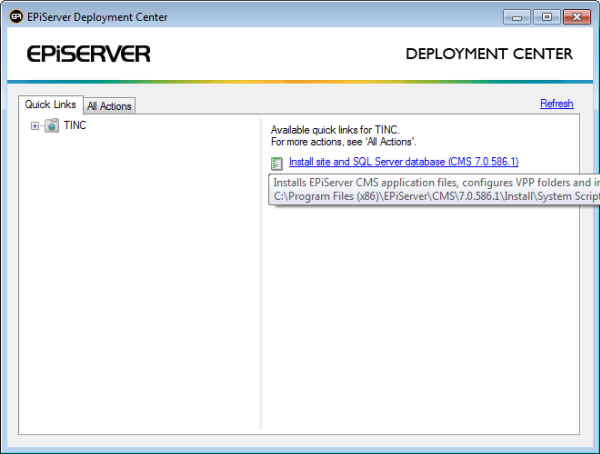
- Under Quick Links, select Install site and SQL Server database (CMS 7.0.586.1).
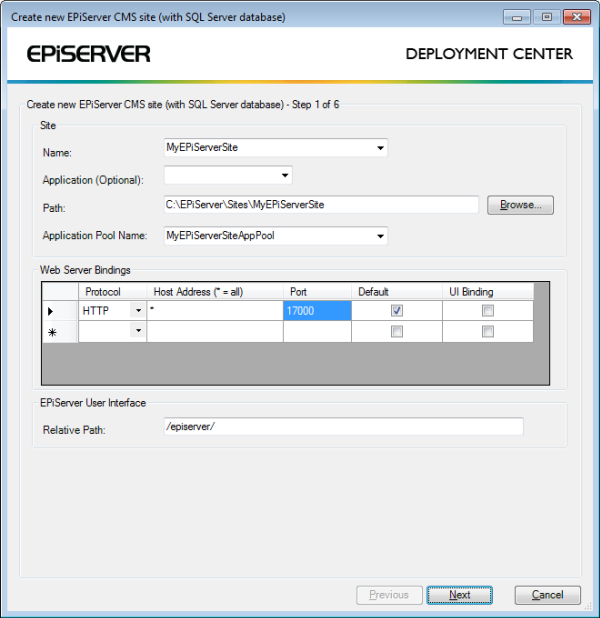
- Fill in the new EPiServer CMS site details.
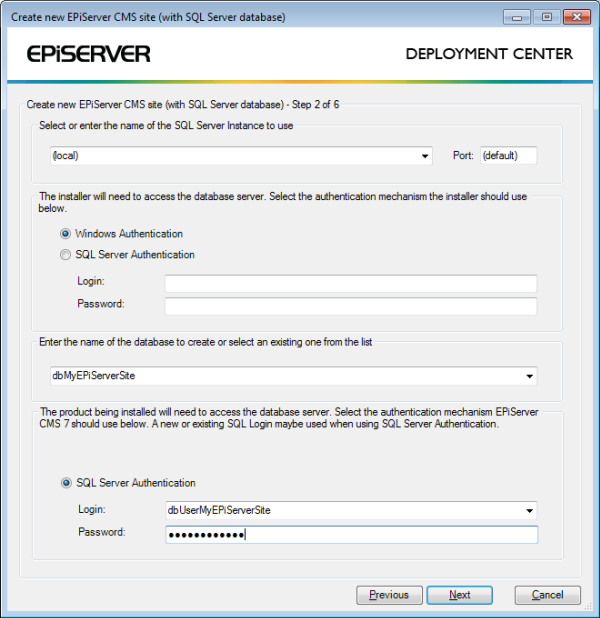
- Select an SQL Server with full text search installed.
- Enter a VPP file path for file storage.
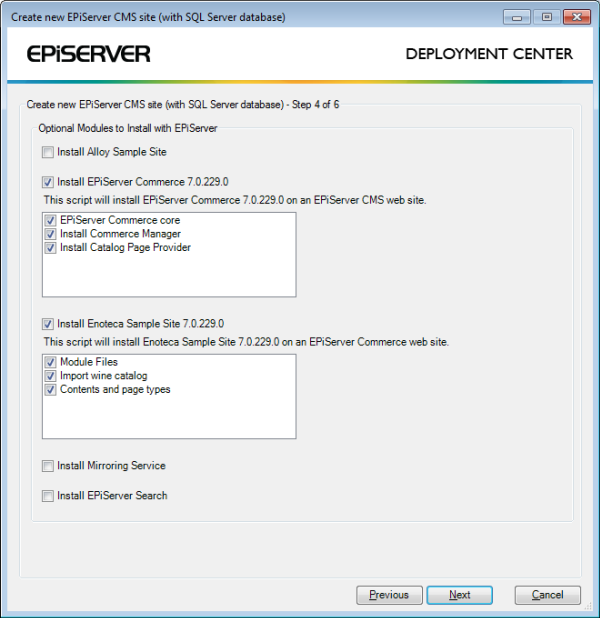
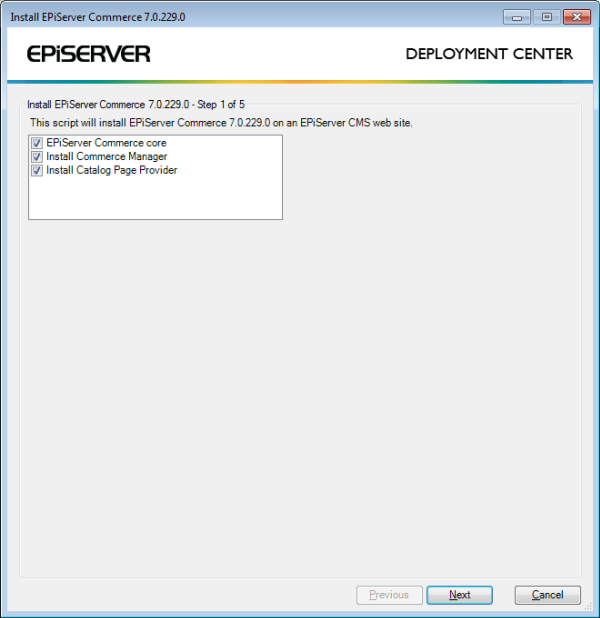
- In the next dialog, select options as shown below, for EPiServer Commerce and the Enoteca sample site:
- In the next step, select an EPiServer license file to use. Refer to the EPiServer License Center for information on license files.
- In this dialog, confirm the options by clicking Next.
- Select an EPiServer Commerce database, note that this must have full text search.
- Fill in the site details for the Commerce Manager site.
- Enter a path for the Commerce Manager shared files.
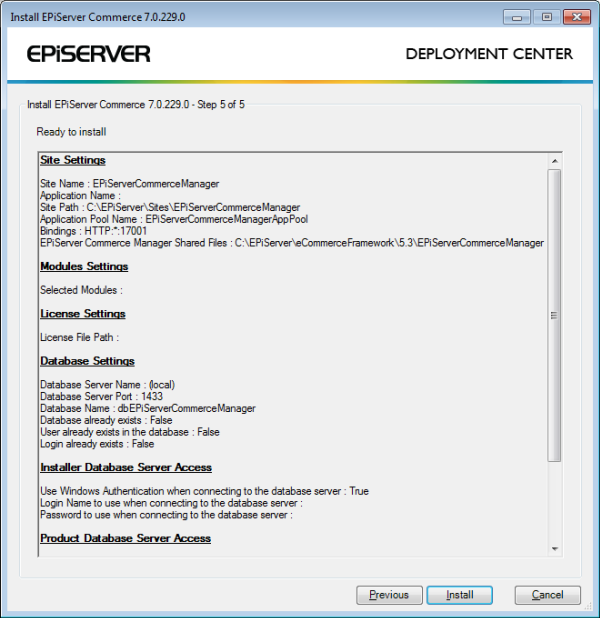
- Confirm the installation by clicking Install.
- The installation will finalize in 5-15 minutes, after which a browser session with the Enoteca sample site will open.
NOTE When running Windows Server 2012, after installing the Enoteca sample site, you may need to restart IIS for the products to appear on the website.
First Time Login
IMPORTANT When you install EPiServer Commerce, you are provided with a default account with the following credentials: Username - admin; Password - store. This is used to login both to the EPiServer CMS website and the Commerce Manager back-end system. It is highly recommended that you change this password when implementing your site! This Admin Account is given full privileges, meaning it will have full access to all systems and all elements within each sub-system.
Do the following to access the EPiServer Commerce site for the first time:
- Browse to the Enoteca Sample site previously created and click on the Log in link
- Enter your login details and you will be logged in to the website.
Configuration and Upgrading
For more information on configuration, breaking changes and upgrading for EPiServer Commerce 1 R3, refer to the sections "Configuration" and "Upgrading" in the SDK for EPiServer Commerce 1 R3.
Known Issues
- If you have an EPiServer Commerce 1 R3 site and upgrade this to CMS 7.1, you might experience trouble accessing the edit view after the upgrade. You can download the files listed below to fix the issue. Note that you need to be logged in to EPierver World to access the files.
Download and extract the files, and follow the instructions included to apply them to your site.
.