EPiServer Commerce Product Picker Property - Installation and User Guide
|
Product version: |
EPiServer Commerce 1.0 and 1.0 SP1 |
|---|---|
|
Document last saved: |
30-03-2010 |
Introduction
This document describes how to install and use the EPiServer Commerce Product Picker Property, one of several plug-ins available for EPiServer Commerce. This plug-in creates a field which makes it possible to select products from the product catalog and display product information in an EPiServer CMS page.
Table of Contents
- Installing the Product Picker Property
- Build the Plugins Project
- Deploy the Files to Your Site - Using the Product Picker Property
- Adding the Product Picker Property to a Page Type
- Configuring the Display Template for the Product Picker Property
- Updating the Standard Page to Display Product
- Displaying Product Information in a Page - Integrating Multiple Plug-ins for EPiServer Commerce
Installing the Product Picker Property
Perform the steps below to install the product picker property.
Build the Plugins Project
- Download and open the "EPiServer.Business.Commerce.Plugins.csproj" using Visual Studio 2008 and build it.
- Copy the " EPiServer.Business.Commerce. Plugins.dll" file in the project bin folder to the bin folder of your site.
Deploy the Files to Your Site
- Copy the ProductPicker folder and its content to the root folder of your site (you can ignore all the .cs files).
- Copy the ClientResources folder and its content to the root folder of your site.
- Copy the "EPiServer.Business.Commerce.ProductPicker_EN.xml" file in the lang folder of the project to your site's lang folder.
Using the Product Picker Property
This plug-in creates a field which makes it possible to display product catalog information in an EPiServer CMS page.
The product picker property supports Editor to be able to select and present a product on CMS 6 Content page.
Administrator could setting display template for this property then selected product could view as desired template in the view mode.
Adding the Product Picker Property to a Page Type
Navigate to Admin mode in EPiServer CMS, select the desired page type and click Add Property. The Product Picker property can be added to any page type.

Under the Common Settings tab, set Type as ProductBrowserProperty and Name as ProductBrowser. The other fields can be set as desired (please refer to the EPiServer CMS user documentation for more details). Click Save.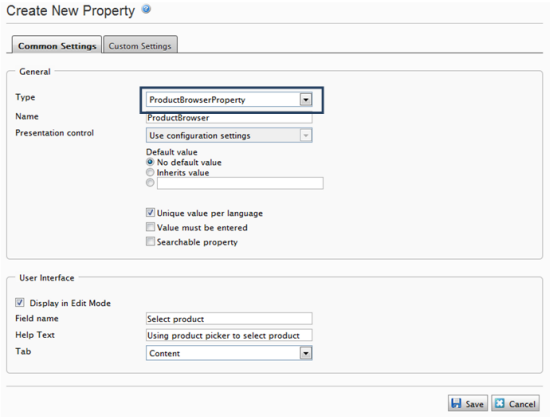
Configuring the Display Template for the Product Picker Property
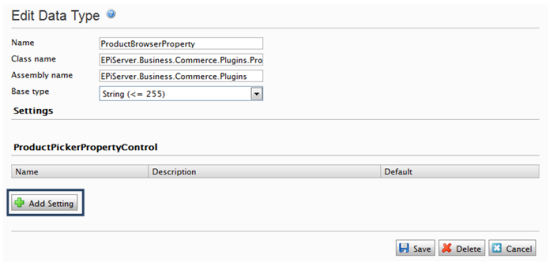
Click Edit Custom Property Types under the Page Type tab, select ProductBrowserProperty then click Add Setting.
In the Property Setting pop-up, enter Name, Description and Template path. Template path is the path to the user control that implements the display product function.
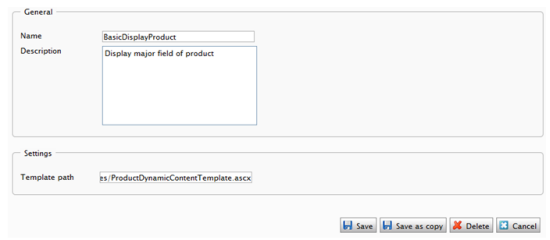
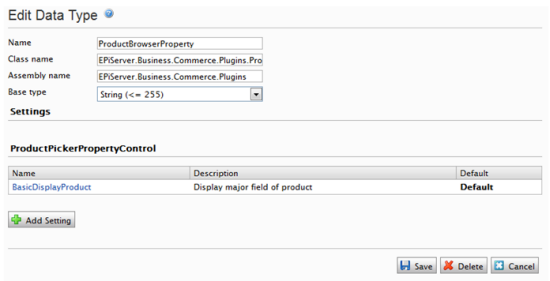
Click set as default. You can add more setting display templates, and then set default values as desired.
Updating the Standard Page to Display Product
- Open the mark-up code file of for example your standard page type, the StandardPage.aspx.
- Add <EPiServer:Property runat="server" PropertyName="ProductBrowser" /> to the area where you want to display the product information.
Displaying Product Information in a Page
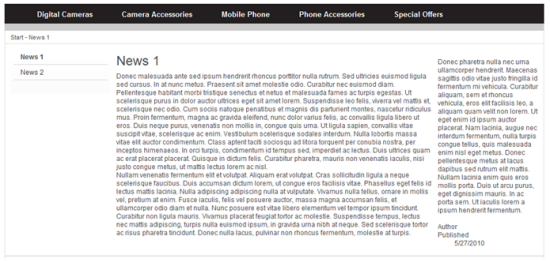
This is an example of a news page before adding product information using the product picker property.
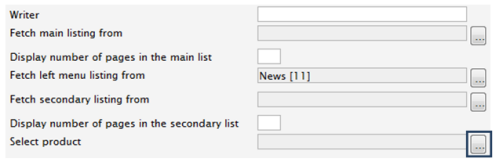
In Edit mode, open the desired page for editing, then enter product information in the Select product field by clicking the browse button.
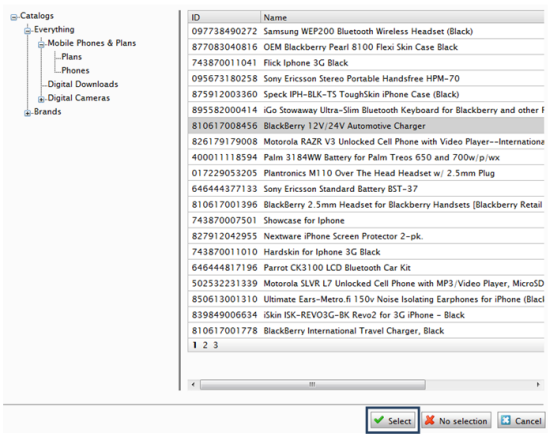
Select the product you want to insert and click Select.
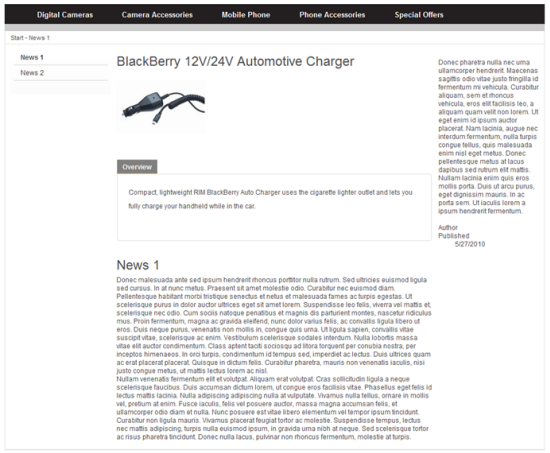
After selecting the product, click Save and Publish to publish this page. Information for the selected product will be displayed, using the display template that you have defined..
Integrating Multiple Plug-ins for EPiServer Commerce
NOTE If you are integrating several plug-ins for EPiServer Commerce, it is necessary to merge your projects into one. This is described further in the tech note EPiServer Commerce - Integrating Multiple Plug-ins.