Don't miss out Virtual Happy Hour this Friday (April 26).
Try our conversational search powered by Generative AI!
AI OnAI Off
Don't miss out Virtual Happy Hour this Friday (April 26).
For better control and understanding, it is recommended to start developing in an empty project. This topic explains how to create an empty project for Commerce 14.
See Setting up your development environment to install the Optimizely templates and command line tool. When done, run the commands described in the following (check command line options for more configuration options).
dotnet new epicommerceempty --name ProjectName
cd projectname
dotnet-episerver create-cms-database ProjectName.csproj -S . -E
dotnet-episerver create-commerce-database ProjectName.csproj -S . -E --reuse-cms-user
The project creation process completes these actions:
When finalized, you have a project folder structure containing:
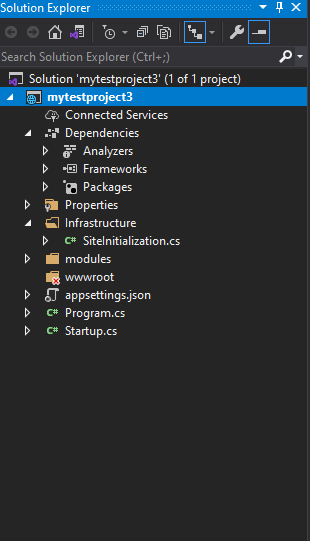
The initialization module ensures that the catalog structure is added under the site's root level.

See Installing Optimizely updates to add the latest updates to a Commerce site.
Go to Creating a start page. This will be the starting point for displaying product content on your e-commerce website.
Last updated: Jul 02, 2021