
Add Commerce to an Alloy Web Site
I frequently get the question about how to add Commerce to an existing CMS site.
I dreaded that question 5 years ago, but now adding Epi Commerce to an existing web site has really become easy in Visual Studio. It is simply a matter of adding the EPiserver.Commerce nuget package and you are ready. If your site has been based on the Alloy template in Visual Studio there is just a few steps you need to take to have it working seamlessly.
In this post I will guide you through the different steps that needs to be changed.
Create a new site based on the Alloy (MVC) template
Start by creating a web site by using the Visual Studio template.
Note! It is important to navigate to the site and add an admin account before adding the EPiServer.Commerce nuget package.
Remove dependency on SitePageData for the layout
Much could be said about the SiteContextActionFilter and the use of an IResultFilter for the layout of the site. I will not change that implementation in this blog, but rather adjust it to be less reliant on SitePageData.
var model = viewModel as IPageViewModel<SitePageData>; //this code is problematic when we add Commerce. SitePageData inherits from PageData and will not in any way work for Commerce content.
Use ISiteContent for SitePageData
As A first approach, I will change the layout to use ISiteContent and not SitePageData. This inteface will be added to the Business.Rendering namespace
This change will affect the following files:
- IPageViewModel.cs
- PageViewModel.cs
- PageContextActionFilter.cs
- SitePageData.cs (Add the new interface to this class)
- Layout views
- _LeftNavigation.cshtml
- _TwoPlusOne.cshtml
- _Root.cshtml
- Partial views
- Footer.cshtml
- Header.cshtml
- ReadOnly.cshtml
- SubNavigation.cshtml
After changing the code to use the new interface several properties needs to be moved to ISiteContent.
using EPiServer.Core;
using System.Globalization;

namespace AlloyCommerce.Business.Rendering
{
   public interface ISiteContent
   {
         ContentReference ContentLink { get; set; }
         CultureInfo Language { get; set; }
         string LanguageBranch { get; }
         string MetaTitle { get; set; }
         string MetaDescription { get; set; }
   }
}
Add Epi Commerce
Add Episerver Commerce to the site simply by adding the nuget package EPiServer.Commerce
Add definition classes for the catalog
[CatalogContentType(DisplayName ="Category/Node",
GroupName ="Commerce",
MetaClassName ="Alloy_Node",
GUID = "094A1AFE-727A-44A0-A074-36BA07F2D092")]
public class AlloyNode : NodeContent, ISiteContent
{
public virtual string LanguageBranch
{
get { return this.Language.Name; }
}
public virtual string MetaTitle { get; set; }
public virtual string MetaDescription { get; set; }
}
Add a controller for the category content items
public class AlloyCategoryController : ContentControllerBase<AlloyNode>
{
    public ActionResult Index(AlloyNode currentContent)
    {
        var model = PageViewModel.Create<AlloyNode>(currentContent);

        return View(model);
    }

}
Base Controller:
public abstract class ContentControllerBase<T> : ContentController<T>, IModifyLayout
where T : CatalogContentBase
{
The view model for catalog content can now be created like the page view models are. This is not going to be sufficient for all content, but in these cases the view model can be created as a separate view model file with additional properties.
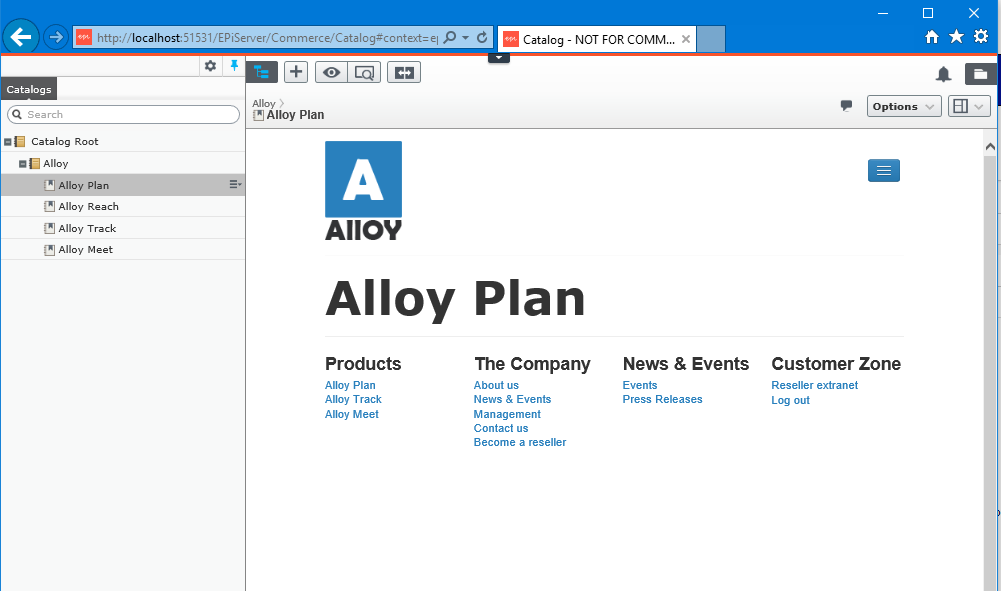
Catalog UI presenting a Category node with on-page-edit. This node will contain, in the near future, planning products (iPad, Phones etc) sold by Alloy.
Much more needs to be done
This example does not give a fully featured commerce site. There are no productes, shipping, checkout, cart, etc. For all of that, please take a look at the Episerver reference site(s) in the public github account (http://github.com/episerver).
Where to find the code
The repository is located at https://github.com/pettersorby/AlloyCommerce.
Thank you!
The commerce team should be praised for all their efforts in making this journey this easy! Thank you, Magnus and the rest of the team.
Comments