
Sending Files to Amazon S3 storage
I am sure you have been asked by clients to create a scheduled job that generates a report and sends it to third party system for further processing.
One of our client asked us to generate a daily report of all the completed orders for further processing in Snowflake. We looked at multiple options, but one option that stood out was creating a scheduled job and storing these report/CSV files in Amazon's S3 storage (considering it was heavily used by the client).
The integration to Amazon's S3 was relatively simpler than I thought.
Step 1: Keys/Credentials for S3 storage
Once the client to generate the keys and the bucket and provide us with the following:
- User Name
- Access Key ID
- Secret Access Key
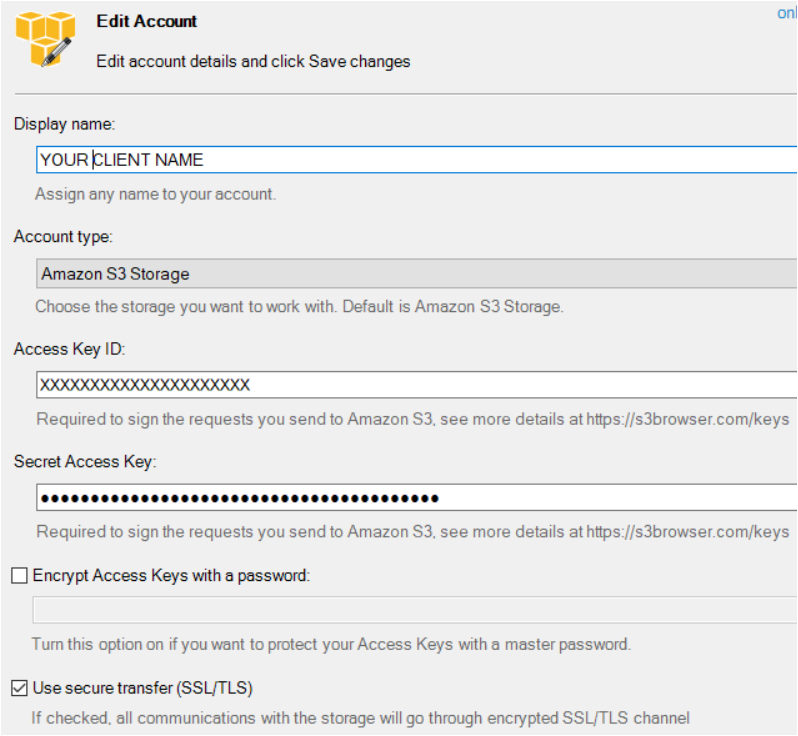
Step 2: Install S3 Browser
This tool allows you to browse all the buckets with the client's S3 storage. You need to use the above credentials to browse the reports generated and published to this bucket.
URL: https://s3browser.com/download.aspx
Step 2: Install the AWS S3 SDK

Step 3: Code
Add the required code to transfer CSV files to AWS S3 storage
namespace ClientName.Orders.DailyOrders.Services
{
    using System;
    using Amazon;
    using Amazon.S3;
    using Amazon.S3.Transfer;

    public static class AmazonUploaderService
    {
        public static bool SendMyFileToS3(System.IO.Stream fileStream, string fileNameInS3)
        {
            try
            {
                var client = new AmazonS3Client(Amazon.RegionEndpoint.USEast1);

                // create a TransferUtility instance passing it the IAmazonS3 created in the first step
                TransferUtility utility = new TransferUtility(client);

                // making a TransferUtilityUploadRequest instance
                TransferUtilityUploadRequest request = new TransferUtilityUploadRequest();

                request.BucketName = System.Configuration.ConfigurationManager.AppSettings["AWSBucketName"];
                request.Key = fileNameInS3;
                request.InputStream = fileStream;
                utility.Upload(request);
            }
            catch (Exception ex)
            {
                return false;
            }

            return true; // indicate that the file was sent
        }
    }
}
Call the above function using the following code.
_s3FileName = $"{DateTime.UtcNow.ToString("yyyy-MM-dd-hh-mm-ss")}-Snowflake-W2-orders.csv";
StringBuilder _report = "Col1, Col2, Col3, Col4..."; // List of all orders using string builder
if (!string.IsNullOrWhiteSpace(_report?.ToString()))
{
  byte[] byteArray = Encoding.ASCII.GetBytes(_report.ToString());
  using (MemoryStream memoryStream = new MemoryStream(byteArray))
  {
    uploaded = AmazonUploaderService.SendMyFileToS3(memoryStream, _s3FileName);
  }
}
Step 4: Test using S3 Browser
Once the code is run successfully you should be able to view a list of all the reports generated using S3 browser you installed in step 2.
That's it! Happy coding :)
Comments