
Configuring the redirect url for Commerce Migration page
A well known feature of Commerce is the migration steps. When you upgrade to a new version to get new, shiny features, or bug fixes, or performance improvements, you will most likely be welcomed by the migration view, when we do all kind of data migrations. Some data definitions are also done here if they need to be run once the site is already started (for example to add an index on a table that is created dynamically, for example, Business Foundation. Indexes on "default" tables are always created in update sql script.s)
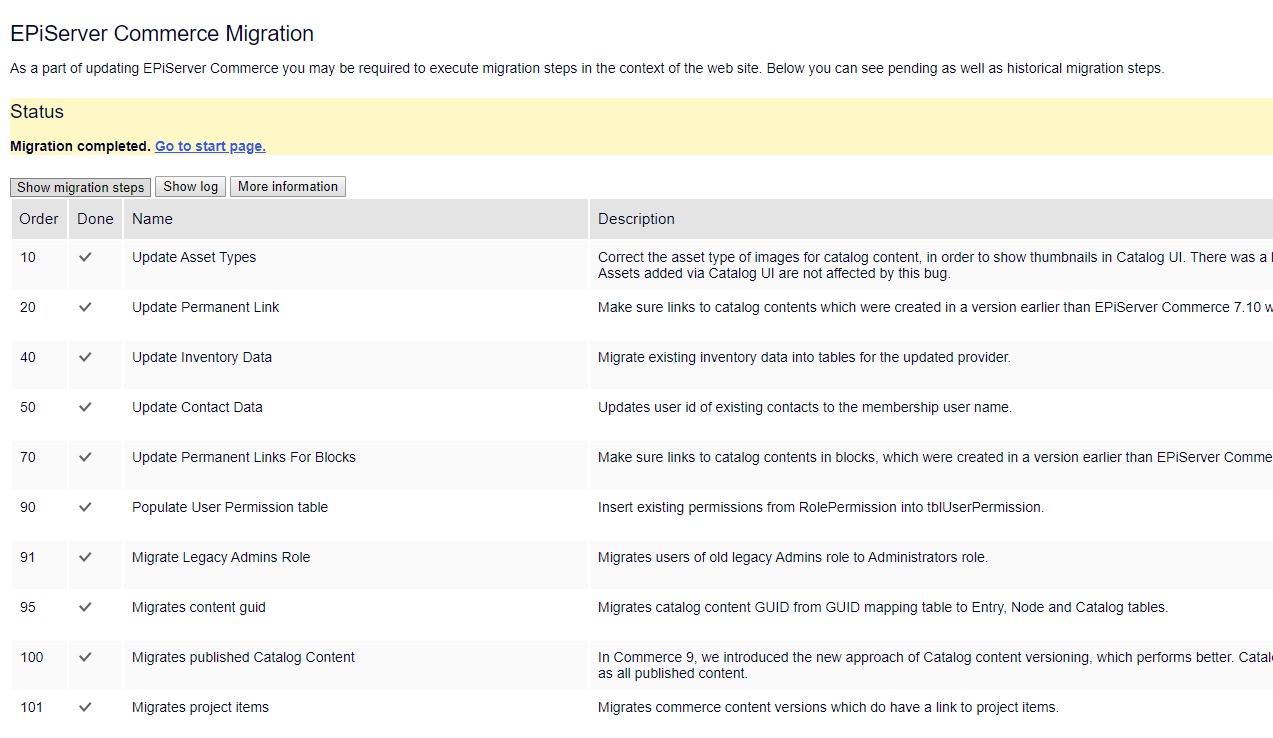
While it's important and with good intention - to make sure your data is properly migrated, the migration step can be frustrating at times. Due to security reasons, we only allow Admins to access to that view, and every requests will be redirected to that view until every step is done. That might cause a catch-22 problem as when you are trying to access the migrate view as above, you are redirected to the login page, and then you are redirected to the migrate view again, causing an infinite loop, like my former colleague Ha Bui here https://world.episerver.com/blogs/Vu-Ha-Bui/Dates/2019/9/get-rid-episerver-commerce-migrate-redirect-loop/
Well, there are two approaches to that problem:
- You can either add/ turn on the AutoMigrateEPiServer in appSettings. This will make the migration steps start as soon as you trigger a request to the site. So even if you can't log in, it will be run automatically and once it's done you can log in as usual. This comes with a drawback is if one of the migration step failed, you have to check the log file to find out.
- Or you can change the "excluded" log in page. Migration manager does not redirect asset files (like .css, .js or .jpg), and it also skips redirecting configured login path. This is the hidden setting - you can configured it via FormsAuthentication.LoginUrl, so basically this
<authentication mode="None">
<forms loginUrl="Login" />
</authentication>
You might argue it could have been a setting in appSettings, so if you are using AspNetIdentity, that is not too obsecure to find out. Well, it's been there for historical reasons, and if you are using MembershipProvider it works by default. If you are using AspNetIdentity, it can be changed freely as well. And yes, we could have documented it better (and that is the point of this blog post).
Happy upgrading and migrating!
Comments