
Integrate Chat (Tidio) Functionality in Episerver CMS
It is quite fundamental for every website owner in today’s world to place a live chat option on his/her site since customers can ask questions in real time and concerns can be received promptly.
Tidio, a live chat system, stands out because it is simple to operate, has a good array of abilities, and is easy to incorporate. In this blog post, we’ll integrate Tidio chat into your Episerver CMS website.
Step 1: Create an Account in Tidio
The incorporation of Tidio into the Espreserver CMS is quite simple however before proceeding to do so a user must sign up for an account.
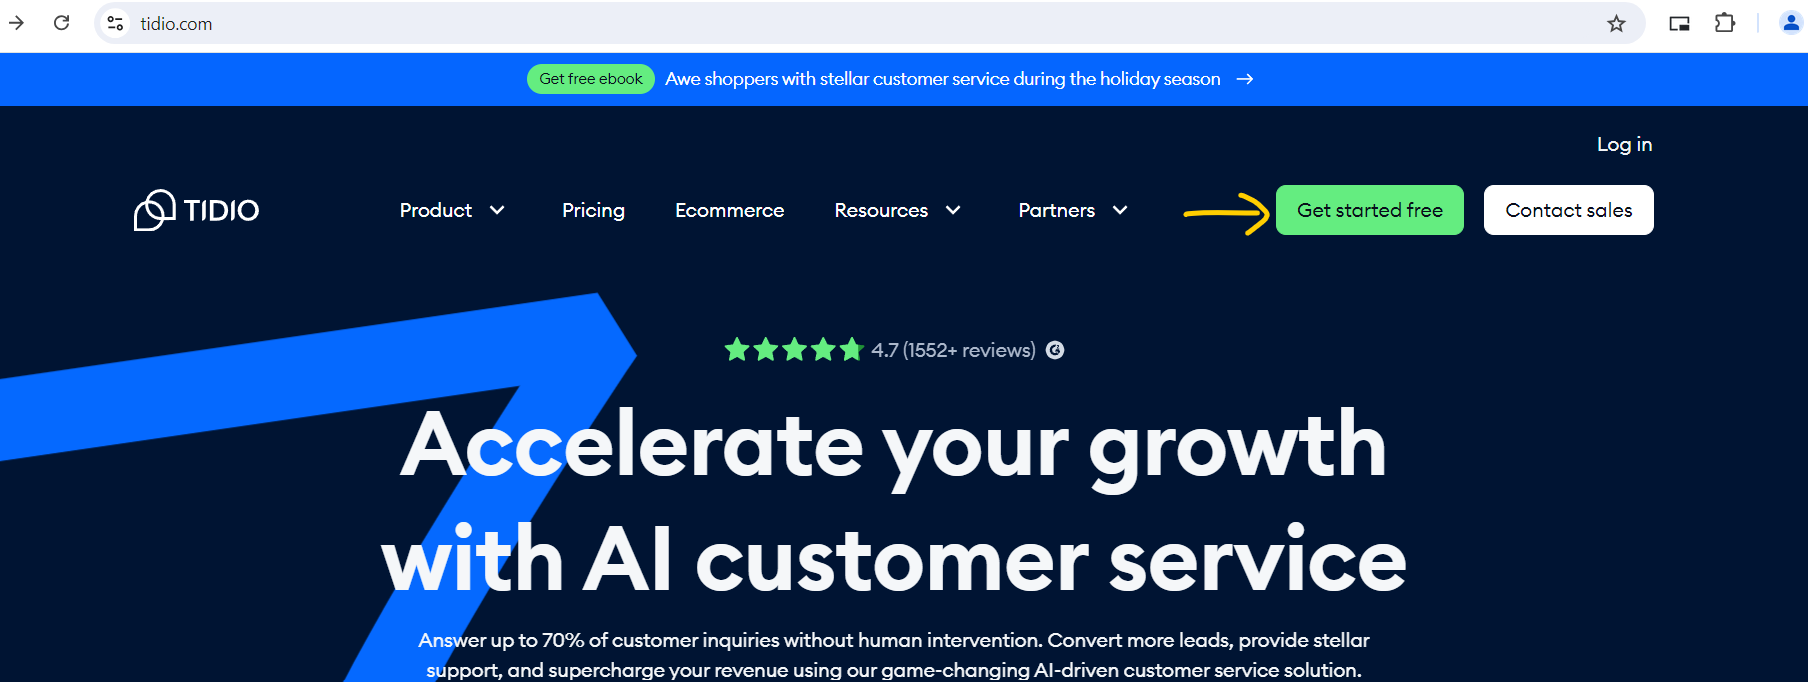
- Go to the Webpage of Tidio: Navigate to https://www.tidio.com/, and on the top right, click on ‘Get Started’
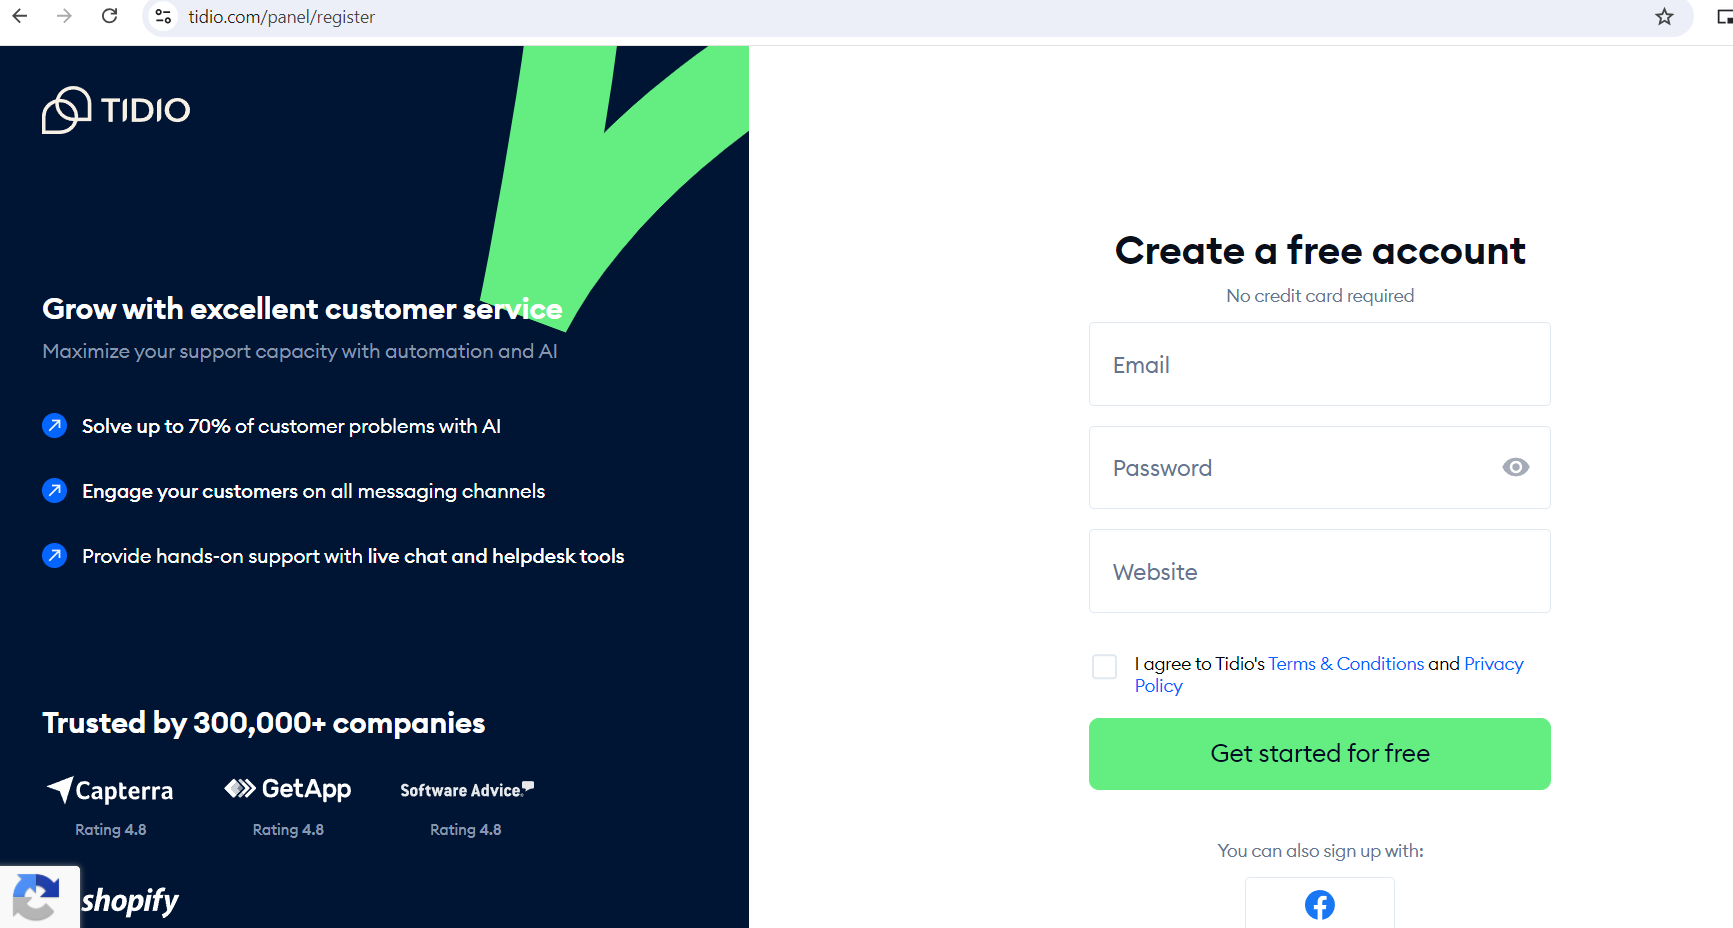
- Create your account: To create your account, adhere to the on-screen directions. For a quicker setup, social logins are another option. If you’re a developer and you don’t have a published website then just give a dummy website URL and create an account
- Personalize your Tidio widget: After you have set up an account, you will be required to customize a chat widget for your website. Tailor it to suit your site's blogs and layout.
Step 2: Copy the JavaScript Code of Tidio
As soon as your Tidio account has been established, and the installation of your chat widget has been completed, the subsequent thing to do is to get the javascript code snippet that is to be inserted into the Episerver CMS.
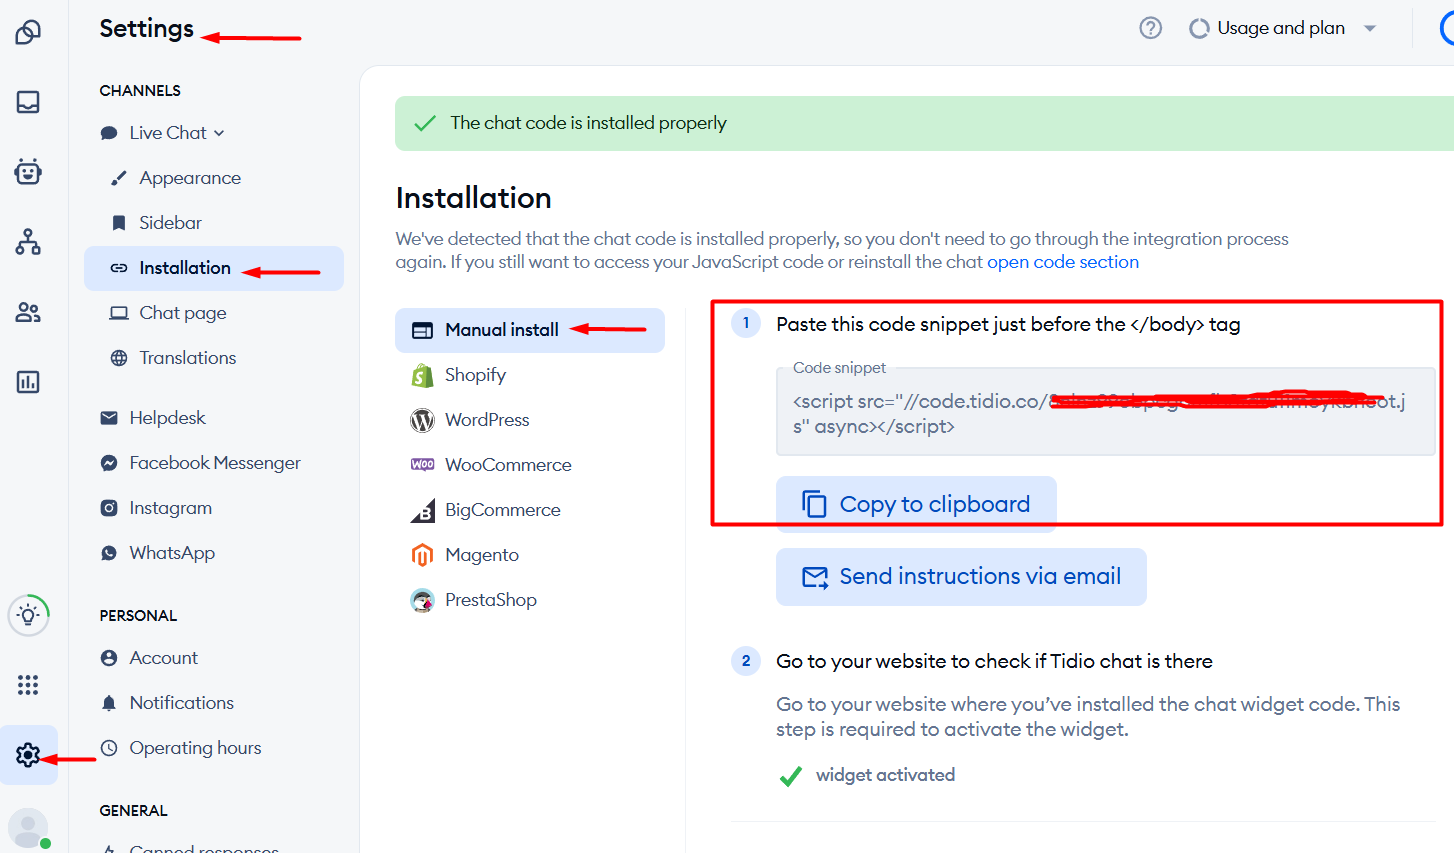
To access the installation code, Click on the “Settings” tab in your Tidio dashboard. Next, find and click on “Live chat” option and then go to “Installation”. In there, you’ll find the “Manual Install” tab. Click on this and you will find the javascript code snippet. Copy the code which we’ll use later in the Episerver cms site footer section
Step 3: Integrate Tidio with Episerver CMS
Now that you have the Tidio JavaScript code, it’s time to integrate it into your Episerver CMS website.
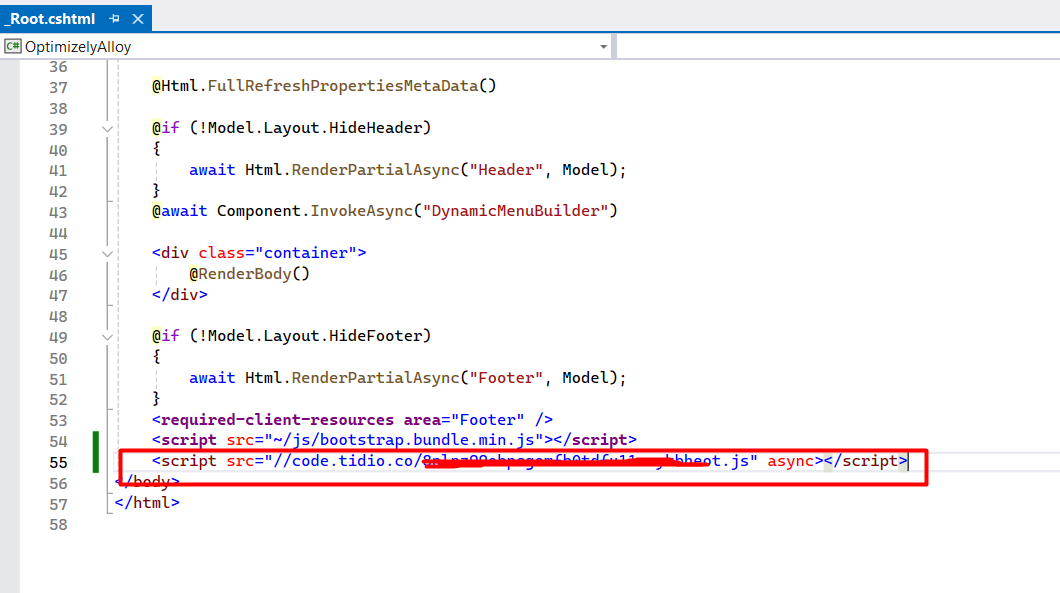
Find the main layout file of your website. This is usually where you want to add third-party scripts, as it ensures the script is loaded on all pages. For simplicity, I’m using the Alloy theme and adding it in the Root.cshtml file. Note that This placement is recommended to ensure that the script loads after all other content, reducing the risk of blocking page rendering.
Step 4: Test the Integration
After updating the changes, it’s essential to test if the Tidio chat widget is working correctly
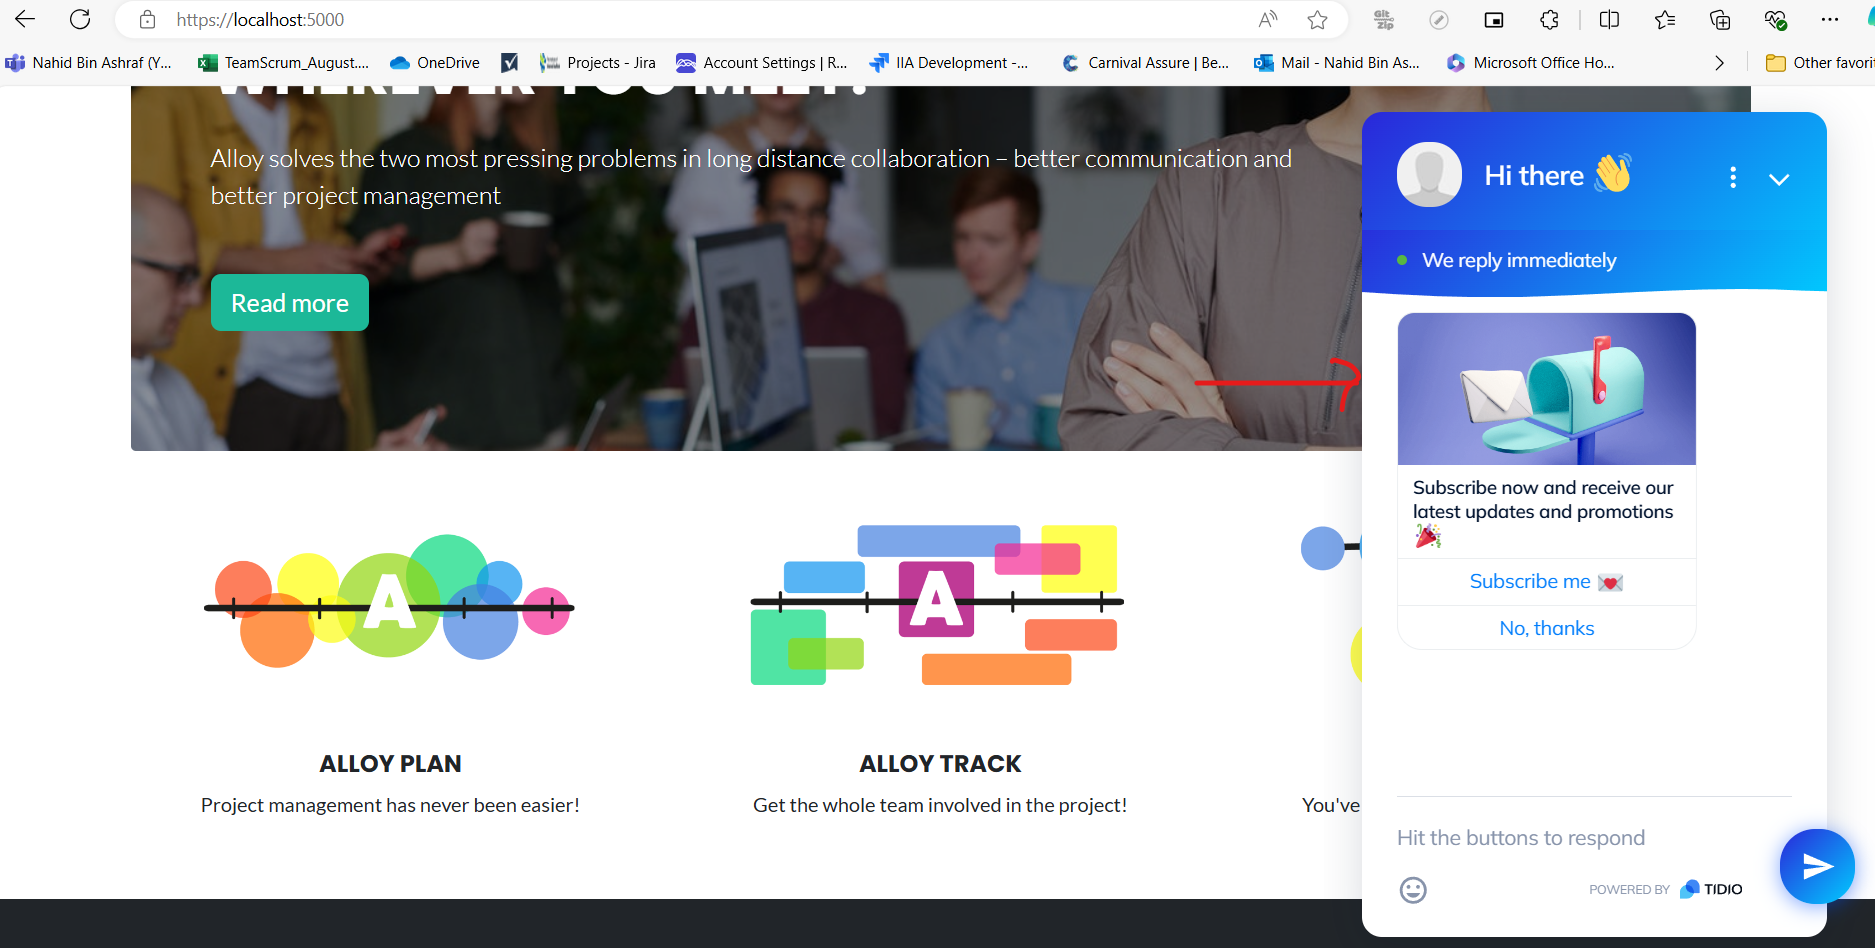
Step 5: Customize the Chat Widget (Optional)
You can further customize the Tidio chat widget to match your website’s design and branding.
Conclusion
Integrating Tidio with your Episerver CMS site is a straightforward process that can significantly enhance your user interaction and customer service capabilities. With just a few steps, you can have a fully functional live chat widget that helps you engage with your visitors in real-time.
By leveraging Tidio's features, you can offer quick support, improve customer satisfaction, and ultimately drive more conversions. Happy chatting!
Comments