
Episerver CMS + Web API
During my last Episerver project, I needed to stand up a Web API endpoint to grab data from an external source. Sounds easy enough, right? Actually, it is in Episerver. One of Episerver’s greatest strengths is the code base works really well with existing ASP.NET features like Web API. In the scenario above, you can easily wire up a Web API Controller just like you would in any MVC web application. Here are the steps I followed to set up a very simple Web API controller in Episerver:
- Open your Episerver solution in Visual Studio
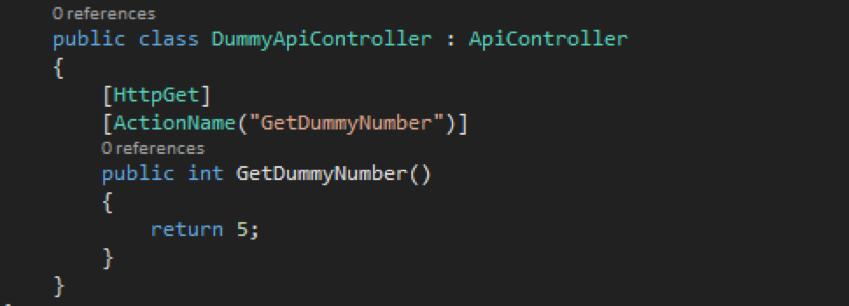
- Create an API controller named DummyApiController under the Controllers folder. From here, add an action to do something simple, such as returning the number 5.
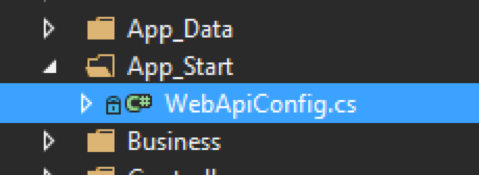
- Create a code file named WebApiConfig.cs. This fill will contain a method called Register. This method will register the route to our custom API.
- Add code to register your route with the application in the WebApiConfig.cs file.

- Next, call the register method in the Application_Start method. You can find this method in the global.asax.cs file

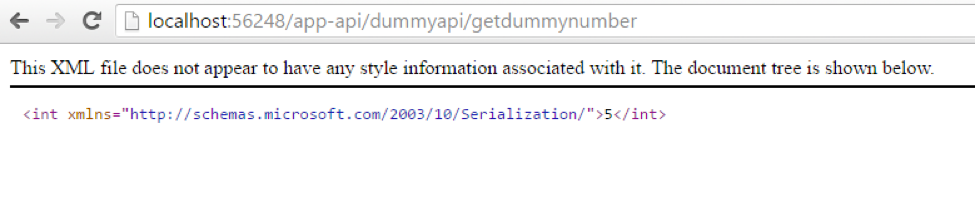
- Fire up your app, and navigate to your API endpoint (http://host/app-api/getdummynumber). The request will return the number 5!
That’s it. Very, very simple. However, in this case, you will need to do a lot more in terms of security and data input validation. Hope this is helpful to you.
May 10, 2017
how come I couldn't make it work :(
This works when running on a development machine but when the solution is published to the DXC environment this returns a 404 error everytime. Is there something further required to get this running in the DXC?
thanks Rejaie,
i was struggling to set up an api on an episerver website and this guide was exactly waht i was lookin for. Thanks for keeping it simple, some other examples i found were overly complicated and i was struggling to work out which part i had done wrong.
Sam