
Securing Web API Endpoints with Owin + Oauth 2.0, Part II
To recap Part I of this series, I showed you how you can configure ASP.NET Identity and Owin/Oauth to authenticate/authorize your Web API endpoints. Now, let's say you don't want to maintain different sets of user name/password combinations in a separate data store. Instead, ideally, you would like to maintain this information in Azure Active Directory Domain Services. If this is you, you're in luck. Here's another step-by-step guide on how I configured Azure AD with OWIN inside of Episerver. This set up assumes you are making server-server authentication calls. Disclaimer: I ran this POC on Episerver 10.8.0, so later versions should work with this configuration. Unfortunately, I'm not sure if earlier versions will be compatible:
- First, you will need to ensure Azure Active Directory is enabled in your subscription. Here's a link on how to do this.
- Next, you will need to create 2 apps, one for the Web API and one for the client. Here's a link on how to do this. You can follow steps 1 & 3 in the link (I will explain step 2 from the link next).
- Next, you will need to modify the Startup.cs file to use Azure Active Directory as the Authentication provider. Below you will find the code. Essentially, the Windows Active Directory options (WindowsAzureActiveDirectoryBearerAuthenticationOptions) will look at the credentials passed in from the request and will respond back with an Oauth 2.0 token, if the credentials are correct. The options class will need to be initialized with the Web API App's App URI ID (Audience) and Active Directory Name (Tenant).
public class Startup { public void Configuration(IAppBuilder app) { var config = new HttpConfiguration(); this.ConfigureAzureADAuth(app); WebApiConfig.Register(config); app.UseWebApi(config); app.UseServiceApiMembershipTokenAuthorization(); } private void ConfigureAzureADAuth(IAppBuilder app) { app.UseWindowsAzureActiveDirectoryBearerAuthentication( new WindowsAzureActiveDirectoryBearerAuthenticationOptions { Audience = ConfigurationManager.AppSettings["ida:Audience"], Tenant = ConfigurationManager.AppSettings["ida:Tenant"], AuthenticationType = "OAuth2Bearer", } ); } } - Next, create a console application project and give it a name. This console application will be used as our client to test the configuration.
- Next, ensure that the Microsoft.IdentityModel.Clients.ActiveDirectory NuGet package is installed.
- In the Main method, add the following code from below:
- The code first creates an authentication context to your Active Directory Domain. The pattern for the URL used is https://login.windows.net/[Azure AD Domain Name].
- Next, you will need to enter the client app's Application ID and Key of the client application created in Step 2 as ClientCredentials. The key will be created under Keys in the client application.
- Next, you will need to acquire a token by sending the ClientCredentials to the Web API's App URI ID.
- After you send the ClientCredentials to the Web API's App URI ID, Azure AD will send you back an Oauth 2.0 Bearer token to use. Now, you can call the GetListOfNumbers endpoint with that token.
- Code
class Program { static void Main(string[] args) { ADAzureAuthStuff(); } static void ADAzureAuthStuff() { AuthenticationContext ac = new AuthenticationContext("https://login.windows.net/[Azure AD Domain Name goes here]"); //Leaf node is Azure AD Domain name var clientCredentials = new ClientCredential("[Client Application ID goes here", "[Client Application Key goes here]"); //first parameter: Application ID, //Second Parameter is a key configured in the client application AuthenticationResult ar = ac.AcquireTokenAsync("[Web API App's App URI ID goes here]", //This parameter is the Web API App's Application ID URI clientCredentials).Result; string result = string.Empty; HttpClient httpClient = new HttpClient(); httpClient.DefaultRequestHeaders.Authorization = new AuthenticationHeaderValue("Bearer", ar.AccessToken); HttpResponseMessage response = httpClient.GetAsync("http://alloy.dev.com/sample-api/getlistofnumbers").Result; if (response.IsSuccessStatusCode) { result = response.Content.ReadAsStringAsync().Result; } Console.WriteLine(result); Console.ReadLine(); } } - Screenshots of running code
Token after targeting my Active Directory Domain and sending ClientCredentials to the Web API App's Applicaton ID URI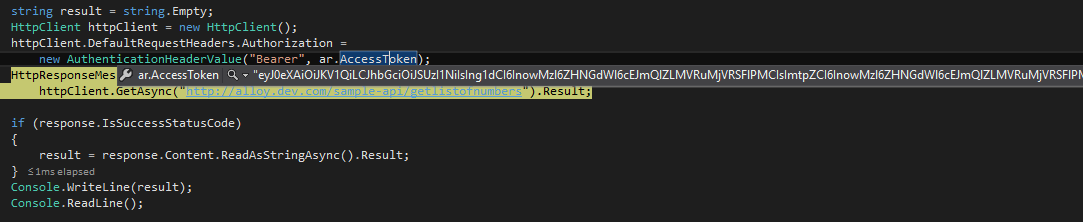
Success Status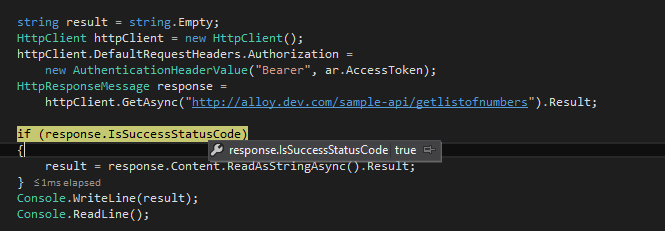
Result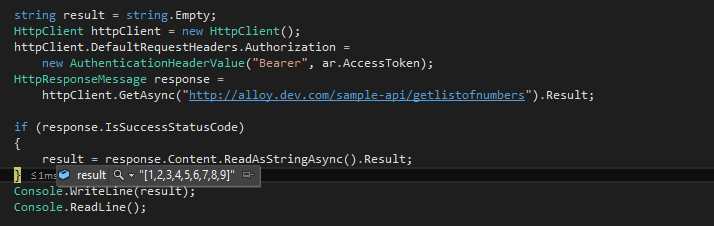
- Code
There you have it - you now have two different ways on how to secure your Web API endpoints using OWIN, at least in a server-server authentication capacity. I'm sure you are wondering - well, can I use OWIN to handle my authentication for content editors/admins and customers? Of course you can! Here are some Episerver documentation on how to do this:
From there, you can definitely mix and match how you want users to authenticate to your Episerver's back-end, customer portal, and Web API endpoints.
Happy coding!
Comments